In a world dominated by digital communication, the personal touch of a custom card can truly stand out. Whether you’re celebrating a birthday, expressing gratitude, or just saying hello, creating your own custom cards opens the door to endless creative possibilities. This guide will walk you through the process of designing and crafting custom cards, ensuring your personal touch shines through.
Why Custom Cards?
Personalization
Custom cards allow for deeper personal connections. A card tailored specifically for the recipient shows thoughtfulness and consideration, something that a generic store-bought card often lacks.
Creative Expression
Designing custom cards is a fantastic outlet for creativity. You can experiment with colors, designs, and messages that reflect your personal style or the personality of the recipient.
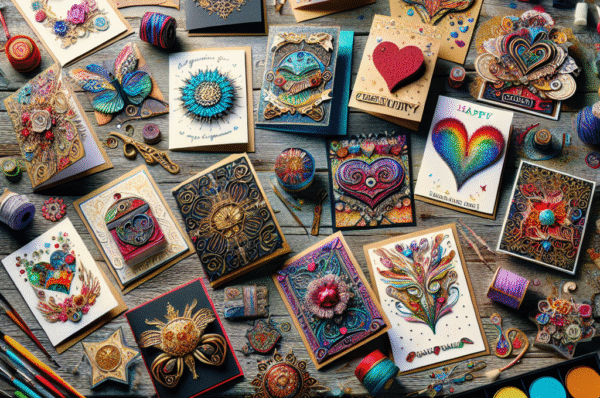
Unique Keepsakes
Custom cards often become valued keepsakes. Recipients are more likely to save a card that resonates with them personally, making it a cherished memento.
Getting Started
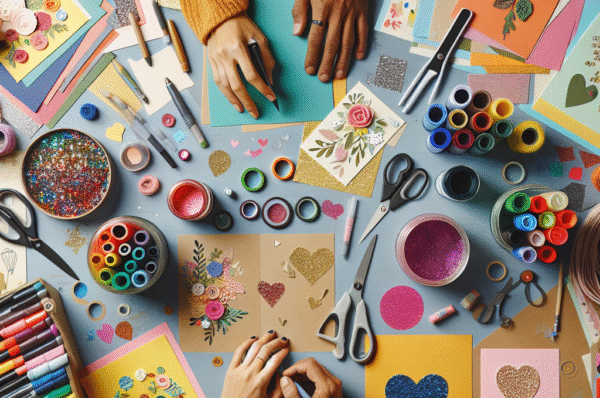
1. Gather Your Materials
Before you begin, collect the necessary materials:
- Cardstock: Choose quality paper that suits your style.
- Art Supplies: Markers, colored pencils, stamps, washi tape, and embellishments can add flair.
- Digital Tools: If you prefer digital design, software like Canva or Adobe Spark can elevate your card design.
2. Decide on the Occasion
Understanding the context is crucial. Different occasions may call for different designs and messages:
- Birthdays: Bright colors and playful designs.
- Thank You: Simple and elegant with a heartfelt message.
- Holidays: Incorporate seasonal themes and colors specific to the holiday.
3. Choose Your Format
Custom cards come in various formats:
- Folded Cards: Classic and versatile, perfect for detailed messages.
- Postcards: Simple and direct, ideal for quick notes or messages.
- Gift Tags: A cute way to attach a personalized message to gifts.
Designing Your Card
4. Create a Concept
Take time to brainstorm ideas. Consider:
- Themes: Floral, minimalist, or whimsical.
- Color Schemes: Choose colors that evoke the intended emotion.
- Layout: Sketch layouts to visualize how your card will look.
5. Start Designing
- Handmade Cards: If you’re crafting by hand, use your art supplies to express your concept. Layer different materials to add texture, or utilize stencils for precision.
- Digital Cards: Explore various templates and customize them. Play with typography, images, and graphics that resonate with the recipient.
6. Craft a Meaningful Message
Words matter! Think about what you want to say:
- Keep it sincere and relevant to the occasion.
- Add personal touches, like inside jokes or shared memories.
- Consider including a quote or saying that resonates with the recipient.
Final Touches
7. Review and Refine
Take a moment to step back and review your card:
- Are the colors balanced?
- Is the message clear and heartfelt?
- Does the design reflect your intent?
8. Add Finishing Touches
- Personalize the envelope: Decorate the envelope with stickers, stamps, or a handwritten address to enhance the overall experience.
- Seal with a wax seal or unique sticker for added charm.
Delivery
Consider how you’ll deliver your card. Handing it over in person adds a special touch. If mailing, ensure it’s properly stamped and securely packaged.
Conclusion
Custom cards are more than mere greetings; they are heartfelt expressions of creativity and personal connection. By following this guide, you can unleash your creativity and craft cards that not only celebrate occasions but also foster relationships. So gather your supplies, spark your imagination, and start crafting your custom cards today!