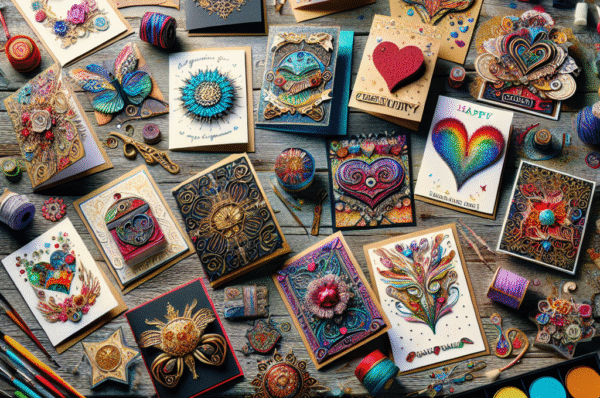
In an age dominated by digital communication, the charm of a handcrafted, custom card remains timeless. Whether for birthdays, weddings, holidays, or just as a ‘thinking of you’ gesture, custom cards offer a personal touch that can’t be replicated by a text message or a social media post. This ultimate guide will equip you with the tools and inspiration needed to unleash your creativity and design unique custom cards that truly resonate with your recipients.
1. Understand the Purpose of Your Card
Before you put pen to paper or open your graphic design software, clarify the purpose of your card. Ask yourself:
- Who is this card for? Consider the recipient’s interests, preferences, and the occasion.
- What message do you want to convey? Identify the emotions or sentiments you wish to express.
- What is the best format? Will it be a folded card, a postcard, or perhaps a pop-up design?
Tip: Research the recipient’s style
If unsure about their preferences, explore their social media profiles to gather insights into their likes, colors, and aesthetics.
2. Gather Inspiration
Creative blocks can hinder your design process. To combat this, seek inspiration from various sources:
- Nature: Natural colors, patterns, and textures can inspire your card design.
- Art & Design: Browse through art galleries, design websites, or platforms like Pinterest and Instagram to discover unique styles.
- Current Trends: Keep an eye on trending designs in the card-making community. Whether minimalist, vintage, or modern, identify themes that resonate with you.
Tip: Create a mood board
Compile images, colors, and design elements that inspire you to develop a cohesive aesthetic for your card.
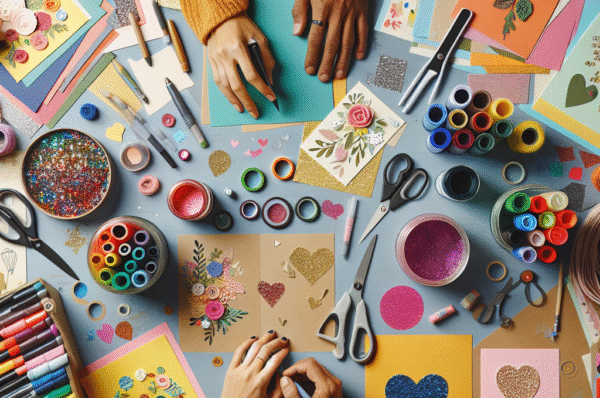
3. Choose Your Materials and Tools
The materials you select can significantly influence the overall vibe of your card. Depending on your desired aesthetic, consider using:
- Paper: High-quality cardstock, textured papers, or colored sheets can elevate your design.
- Ink and Pens: Experiment with different inks, markers, or calligraphy pens for lettering.
- Crafting Tools: Scissors, craft knives, adhesives, and cutting machines can enhance your card’s visual impact.
Digital Tools:
Consider using graphic design software like Adobe Illustrator, Canva, or Procreate if you prefer digital designs. These tools offer templates and a wide array of design options.
4. Design Your Card Layout
The layout is pivotal in creating a visually appealing card. Keep these elements in mind:
- Orientation: Decide between vertical or horizontal layout based on your design elements.
- Hierarchy: Use typography to highlight the key message, ensuring the most crucial information stands out.
- White Space: Don’t clutter your design. Leaving blank spaces can bring focus and balance to your card.
Tip: Sketch First
Before diving into the final design, sketch multiple layouts. This exploration will allow you to visualize different options and refine your ideas.
5. Play with Color and Typography
Color and typography can evoke emotions and set the tone of your card. When choosing colors:
- Match the Mood: Warm colors (reds, yellows) often exude excitement, while cool tones (blues, greens) can be calming.
- Limit Your Palette: Stick to three to five colors to maintain coherence throughout your design.
When selecting typography:
- Contrast and Readability: Use contrasting fonts for headings and body text. Ensure they are legible and suitable for the theme.
- Be Consistent: Maintain a consistent font style to unify the overall appearance of your card.
Tip: Use Color Theory
Understanding basic color theory can help you mix and match colors effectively, setting the desired mood for your card.
6. Add Personal Touches
To make your card truly special, include personalized elements:
- Photos: Incorporating a picture can create a sentimental connection.
- Handwritten Notes: Nothing beats the authenticity of a handwritten message. It adds warmth and individuality to your card.
- Unique Embellishments: Use stickers, ribbons, or decorative elements that reflect the recipient’s personality.
Tip: Create a Signature Style
Develop a defining style that you consistently apply across your cards. This could be a specific illustration style, a unique font, or a preferred color palette.
7. Print and Assemble
If you’re using digital tools, ensure that your designs are saved in high resolution before printing. When assembling your card, consider:
- Quality Control: Check for any errors or misalignments before the final print.
- Finishing Touches: Consider using finishes like matte or glossy, adding a professional feel to your design.
Tip: Production and Delivery
If you’re creating a batch of cards, think about how you will deliver them. Custom envelopes or packaging can enhance the overall presentation.
8. Share Your Creations
Once your cards are designed and ready, share them! Social media platforms are great places to showcase your creativity and perhaps even inspire others. Consider starting a blog or an Instagram account dedicated to your card designs and crafting journey.
Conclusion
Designing custom cards is more than just a creative hobby; it’s an expression of thoughtfulness and care. By understanding the purpose of your card, gathering inspiration, experimenting with design elements, and injecting your personality into your work, you can create meaningful expressions that brighten someone’s day. So grab your materials, unleash your inner artist, and start designing beautiful custom cards that will leave a lasting impression. Your next card could very well be a cherished keepsake. Happy crafting!